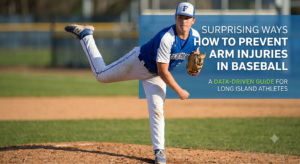
Congratulations! You’ve made it to 12 weeks post op. The surgical pain has faded, your knee feels stable, and you’re probably thinking: I’m ready to run.
Here’s the thing about 3 months post ACL surgery exercises that most athletes don’t realize until it’s too late—this is actually the moment when your graft is at its most vulnerable. I know that sounds counterintuitive. You feel stronger than you have since surgery day. But as a Doctor of Physical Therapy who’s worked with hundreds of athletes through ACL recovery (and as someone who played Division I soccer and understands the itch to get back out there), I need you to understand what’s actually happening inside your knee right now.
The exercises you do during this window will either set you up for a powerful comeback—or put you right back on the sidelines.
Let’s make sure it’s the first one.
TL;DR: The 3 Exercises You Can’t Skip at 12 Weeks
- Leg Press (0-90°) — Build quad strength to at least 80% of your uninjured side before running
- Single-Leg Romanian Deadlifts — Train the hip hinge pattern that protects your graft during explosive movements
- Schlopy Mini Jumps — Master force absorption with “quiet” landings before progressing plyometrics
The catch: Your graft is at its weakest point right now, even though you feel strong. Smart programming matters more than ever.
Why 3 Months Is the Most Critical (and Dangerous) Phase
Your reconstructed ACL goes through a process called ligamentization—where the transplanted tendon transforms into something that functions like your original ligament. But here’s the paradox that trips up so many athletes: between weeks 6 and 12, your graft is actually weaker than it was on the day of surgery (you can see the full breakdown in our ACL healing timeline guide).
I call this the “false security window.”
Your body has stopped hurting. You’ve regained foundational strength. You feel ready. But inside your knee, the original dense collagen fibers are being broken down and replaced with weaker, less organized tissue as your body rebuilds from scratch.
This is the proliferation phase—a necessary part of healing, but one that demands intelligent programming, not aggressive “pushing through.”
The good news? Starting around 12 weeks, your graft enters the remodeling stage. The collagen fibers begin aligning along the lines of mechanical stress. This means your graft now needs controlled, progressive loading to mature properly.
The key word there is controlled.
Are You Actually Ready for Phase III 3 Months Post ACL Surgery Exercises?
Before you jump into the exercises below, let’s run through the non-negotiables. These aren’t suggestions—they’re prerequisites:
- Minimal to no swelling after your rehab sessions
- Full knee extension (0°) matching your uninjured leg
- Normal walking pattern with no limping or “stiff-leg” compensations
- 10-20 straight leg raises without your quad lagging behind
- Single-leg squats to 45-60° with solid hip control and no knee caving inward
If you’re not there yet, that’s okay. It doesn’t mean you’re behind—it means your body needs more time in Phase II. Rushing this checkpoint is how re-injuries happen.
The Complete 3 Months Post ACL Surgery Exercise Breakdown
Here’s your roadmap. We’re building a knee that’s not just healed—but stronger and more resilient than it was before your injury.
Strength and Hypertrophy: Rebuilding Your Power Base
At 12 weeks, muscle growth becomes your primary focus. Research shows that quadriceps strength is the single greatest predictor of a successful return to sport and long-term knee health.
Target these parameters:
- 6-12 reps per set, with a weight that challenges you by the final rep
- 2-5 sets per exercise
- 2-3 strength sessions per week with 48 hours between intense sessions
Your go-to exercises:
Leg Press (0-90° arc): This is your workhorse for building quad strength with less balance demand. Work toward a 10-rep max that’s at least 80% of your uninjured side.
Goblet Squats → Barbell Back Squats: Start with goblet squats for control, then progress to a barbell as your mechanics solidify. These multi-joint movements train your entire lower body to work as a unit.
Step-Ups and Lateral Step-Downs: Using a 6-8 inch step, focus on “quiet” landings with your knee tracking over your second toe. This is where you start training the eccentric control you’ll need for running and cutting.
Posterior Chain: Your ACL’s Best Friend
Your hamstrings and glutes are the muscles that support your ACL—they help prevent the forward translation of your tibia that stresses your graft. If you had a hamstring autograft, resisted strengthening typically begins right at 12 weeks.
Physio-ball Hamstring Curls: Start with both legs, then progress to single-leg variations. Your core gets challenged here too.
Romanian Deadlifts (RDLs) and Single-Leg Deadlifts: These teach the “hip hinge” pattern that protects your knee during explosive movements. Master this, and your jumping and landing will transform.
Seated Hamstring Curls: Machine-based curls let you load up with control, targeting specific hamstring deficits that might not show up in compound movements.
Plyometrics and Landing: Learning to Absorb Force
At 12 weeks, we introduce jump training—but the focus is entirely on how you land, not how high you jump.
Schlopy Mini Jumps: This is a specialized ACL drill. Take a small jump forward (about 12 inches), then a small jump back, landing in a deep squat position. The goal is to use your glutes and quads to decelerate your body, absorbing force through your muscles—not your joints.
Double-Leg Line Jumps: Jump forward/backward or side-to-side over a line rhythmically. Keep landings soft.
Box Jumps (introduced late in this phase): Jumping onto a box reduces landing impact while still training explosive power. Only progress here when your landing form is perfect.
Landing Mechanics Checklist
Before progressing your plyometrics, every landing should pass this test:
- Alignment: Knees stay over your toes or slightly outside—any inward collapse is a red flag
- Absorption: Landings are “quiet,” meaning your muscles are doing the work, not your skeleton
- Depth: Hips and knees flex to approximately 90° in deeper drills to dissipate energy properly
If your landings are loud or your knees cave inward, you’re not ready to progress. And that’s valuable information—it tells us exactly what we need to work on.
Agility Training: Preparing for the Unpredictable
Real sports don’t happen in straight lines. Agility drills teach your knee to handle rapid direction changes while keeping your center of gravity stable.
Agility Ladder Drills:
- Icky Shuffle: A lateral 3-count pattern (In-In-Out) that builds coordination and “fast feet”
- Carioca: Cross-over steps with hip rotation—a foundational pattern for cutting movements
- Ali Shuffle: Rapid foot scissoring through the ladder for footwork and reaction speed
Cone Drills (as you progress):
- Pro-Agility (5-10-5): Sprint 5 yards, touch, change direction for 10 yards, touch, sprint back 5
- T-Test: Combines forward sprinting, lateral shuffling, and backpedaling in a “T” pattern
Start slow. Master control before you add speed.
The 80% Rule: When Can You Actually Run?
I know this is what you’ve been waiting for.
Running generates forces equal to 3-4 times your body weight with every stride. Your knee needs to be ready.
The industry standard: You should demonstrate at least 80% limb symmetry in quadriceps and hamstring strength before taking your first running step.
This isn’t a guess—it’s measured through isokinetic testing or functional assessments. (Here at In Motion we use the tindeq device to measure your strength accurately). Additionally, your Y-Balance Test anterior reach should show less than a 4 cm difference between limbs.
Once you’ve hit these benchmarks, running follows a structured walk-run interval progression:
Phase | Structure | Benchmark |
Phase I | Walk 5 min, Jog 1 min (x5) | No pain or swelling for 24 hours post-run |
Phase II | Walk 3 min, Jog 3 min (x5) | Symmetrical gait mechanics |
Phase III | Walk 1 min, Jog 5 min (x5) | 25 continuous minutes without symptoms |
Follow the 10% rule: never increase your weekly running volume by more than 10%. Your graft is maturing—respect the process.
Graft-Specific Considerations
Not all ACL reconstructions are identical. Your specific graft type affects your programming:
Hamstring Autograft: Be cautious with heavy hamstring loading until 12 weeks. You may regain quad strength faster but struggle with terminal hamstring power.
Patellar Tendon (BPTB) Graft: Expect more quadriceps inhibition and potential anterior knee pain. Patellar mobility work becomes extra important.
Allograft (Donor Tissue): Incorporation takes longer. Your surgeon may recommend delaying high-impact activities until 16 weeks.
If you’re unsure how your graft type should influence your training, this is exactly what we assess in a professional evaluation.
Red Flags: When to Slow Down
As activity intensity increases, watch for these warning signs:
- Knee “giving way” or buckling during light activities—this is not normal weakness; it may indicate graft issues
- Expanding redness, warmth, or drainage from incisions (infection signs)
- Deep calf pain with swelling (possible blood clot—seek immediate medical evaluation)
- Range of motion decreasing despite consistent stretching (possible scar tissue buildup)
Trust your instincts. If something feels off, it probably is.
Your Comeback Starts Here
The 3-month mark isn’t the finish line—it’s where your real transformation begins.
Every Schlopy jump, every controlled landing, every RDL is building a knee that’s not just healed, but genuinely stronger than before. This is the phase where disciplined, intelligent training separates athletes who return to sport from athletes who return to sport and stay there.
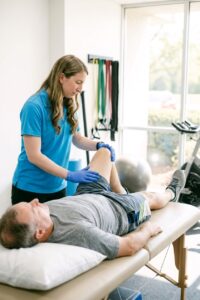
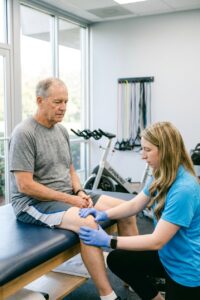
At In Motion Physical Therapy, we provide the most comprehensive ACL physical therapy in Farmingdale to ensure you hit every benchmark safely. Our team of Doctors of Physical Therapy—all former collegiate athletes ourselves—understands what it takes to get back to the sport you love with confidence.
Not sure if your landing mechanics are ready for impact? Call at our Farmingdale clinic for a professional Return-to-Sport assessment. We’ll evaluate your strength symmetry, movement quality, and readiness for the next phase—so you can stop guessing and start progressing with a clear plan.
Your graft needs you to be smart right now. Let’s make sure you’re doing everything right.
Laura Sommer, DPT, is the founder of In Motion Physical Therapy in Farmingdale, NY. A former NCAA Division I soccer player, she has spent over 14 years helping athletes return to their sports stronger than before.
Keep Reading
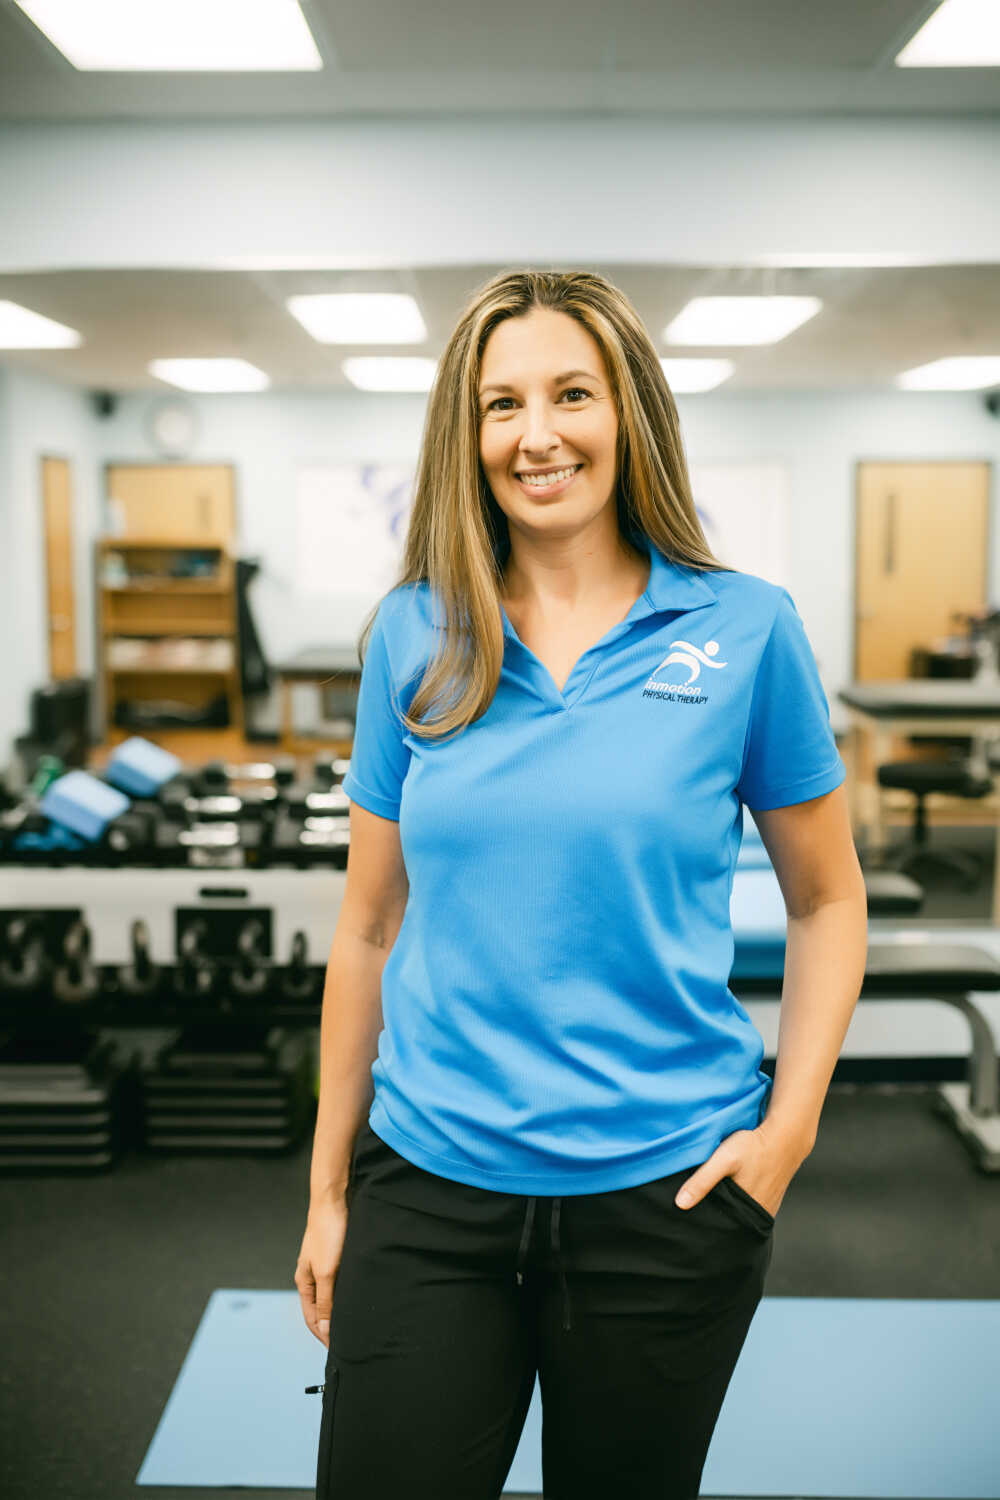
Laura Sommer has been practicing as a Physical Therapist since 2011. She graduated from Northeastern University, where she was a member of the Women’s Soccer Team. Laura is the owner of In Motion Physical Therapy located in Farmingdale, NY.